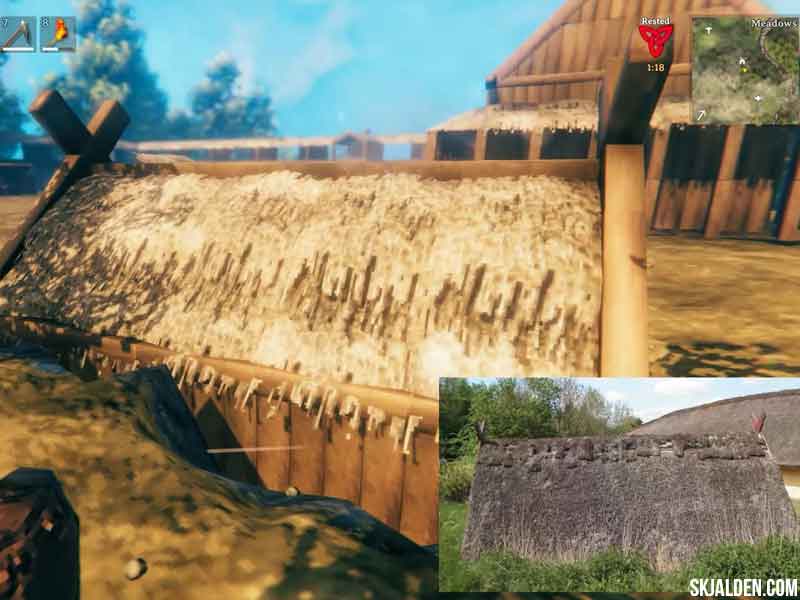
In this article, I will show you how to build a Viking pit-house (In Danish: Grubehuse) that is based on archaeological excavations. But before I start, let me tell you a little bit about them, and for what purposes they were used.
People did generally not work in the houses where they slept unless they were poor. Of course, the lady of the house had her daily activity here, but not much else was done besides the typical household chores. It also goes without saying that absolutely no one was working from home, sailing around on the vast and deep digital sea.
This kind of pit-house has been used from the Iron Age until the end of the Viking Age. It is quite a unique house because they have been dug half to a full meter into the ground.
Most of them were built with timber, but some, especially those from the early period, have made use of the wattle and daub technique. The roof was made with grass turf, which is not possible at the moment in Valheim, so we will use the thatch roof tiles.
The pit-houses were used to conduct specialized labor, for instance, blacksmithing, tailoring, the potter, and the basket maker. Even Though the houses are so tiny, they have occasionally been used as living quarters for the people who worked in them.
A house like this had a limited lifespan as the buried pillars would slowly begin to rot because of the harsh climate. That meant that at some point the houses would be torn down, and a new pit-house would be built next to the old one. Every time they would try and recycle as much of the timber as possible for the new house.
The pit-house we are going to build is the one that was found at Fyrkat in Northern Denmark. Fyrkat is one of the seven Viking fortresses that were built around 980 CE by King Harald Bluetooth.
Because of the limitations of Valheim, it will not be an exact copy, but we will get pretty close. When stairs are placed without a roof, they take damage from the rain, so, therefore, we will have to extend the house and place them inside, an alternative could be to just use the dirt as the entrance.
Building a Pit-house in Valheim
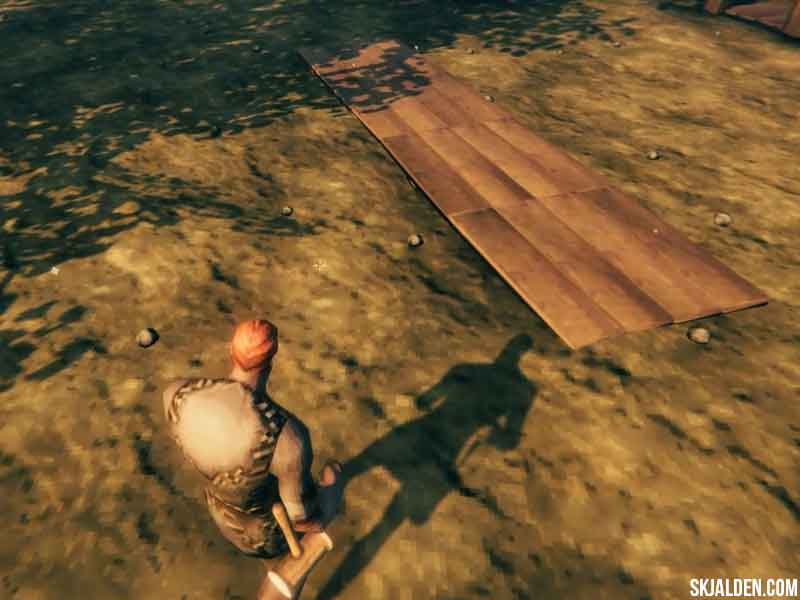
I found it useful to measure the length of the house by placing wood floors next to the area where I was going to dig.
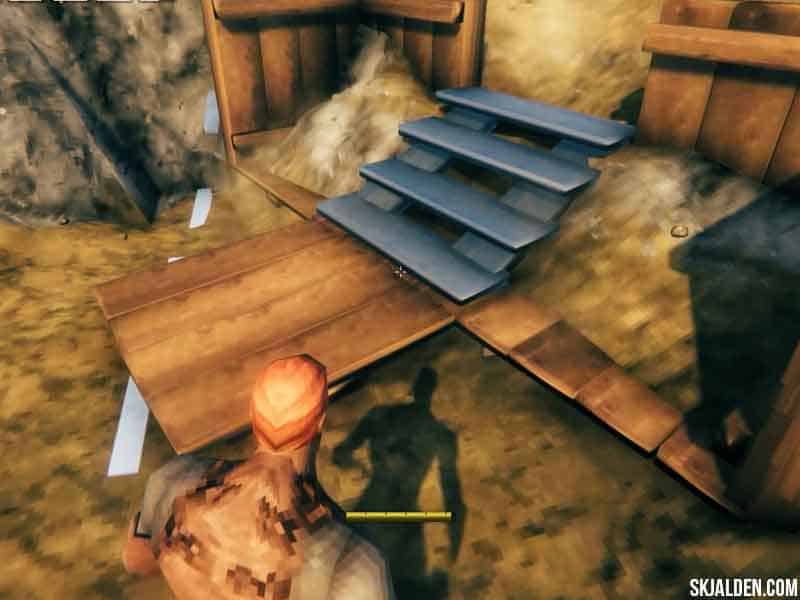
I used the stairs to measure the depth and made sure that I could run up and down them without bumping into something. When I was satisfied with the depth and length I put down some walls.

The pit-house is only 1 wood wall in height, so now we are going to place the 45-degree wood wall at the ends, so we can place 45-degree thatch roof tiles along with them.
In the middle, we will use the 26-degree thatch roof ridge tile, and in front of it, the 45-degree wood roof cross.
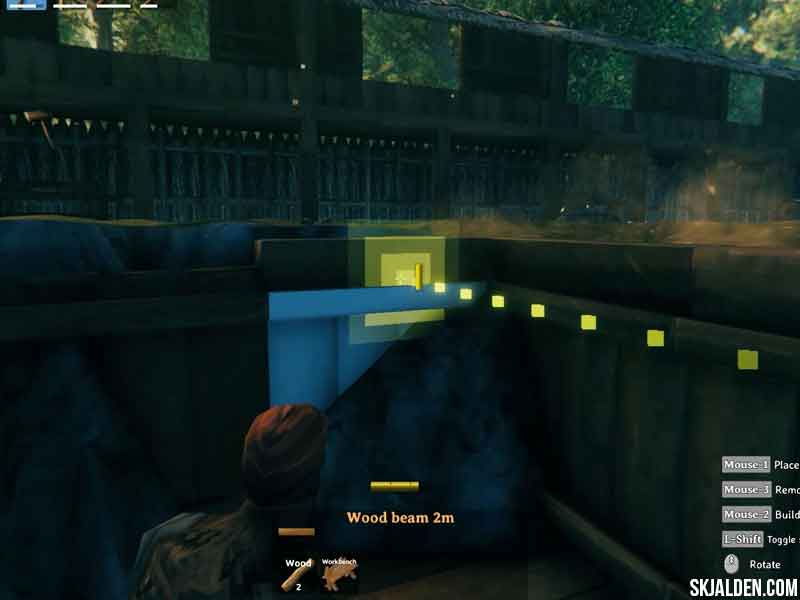
We will use the 2-meter wood beam along the wall. Try not to remove too much dirt when shaping your house, or else, you will just have to spend resources to correct it afterward.
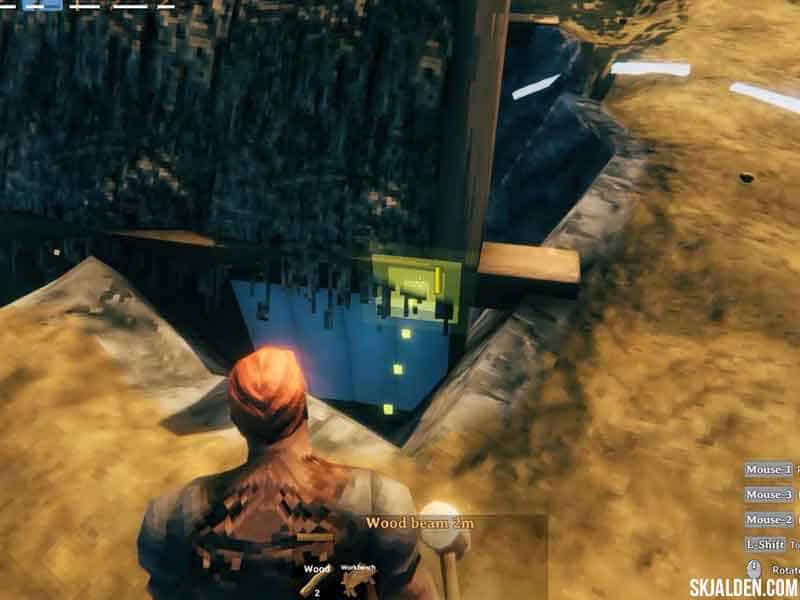
At the ends of the house, we will have the wood beams sticking a bit out. Make sure that you place the 1-meter wood beam first, and then use a 2-meter wood beam to stick out. If you don’t do this, the beam will take damage when it rains.
Now it is time to add some more dirt around it, but make sure that you remove that which builds up inside.
Leave the dirt at the entrance, or else, the dirt won’t be connected to the house, and it will end up leaving a small gap.

This is how I choose to decorate it, but it is, of course, completely up to you, how you would like it to look.
